Don’t Let That Garden Goodness Go to Waste!
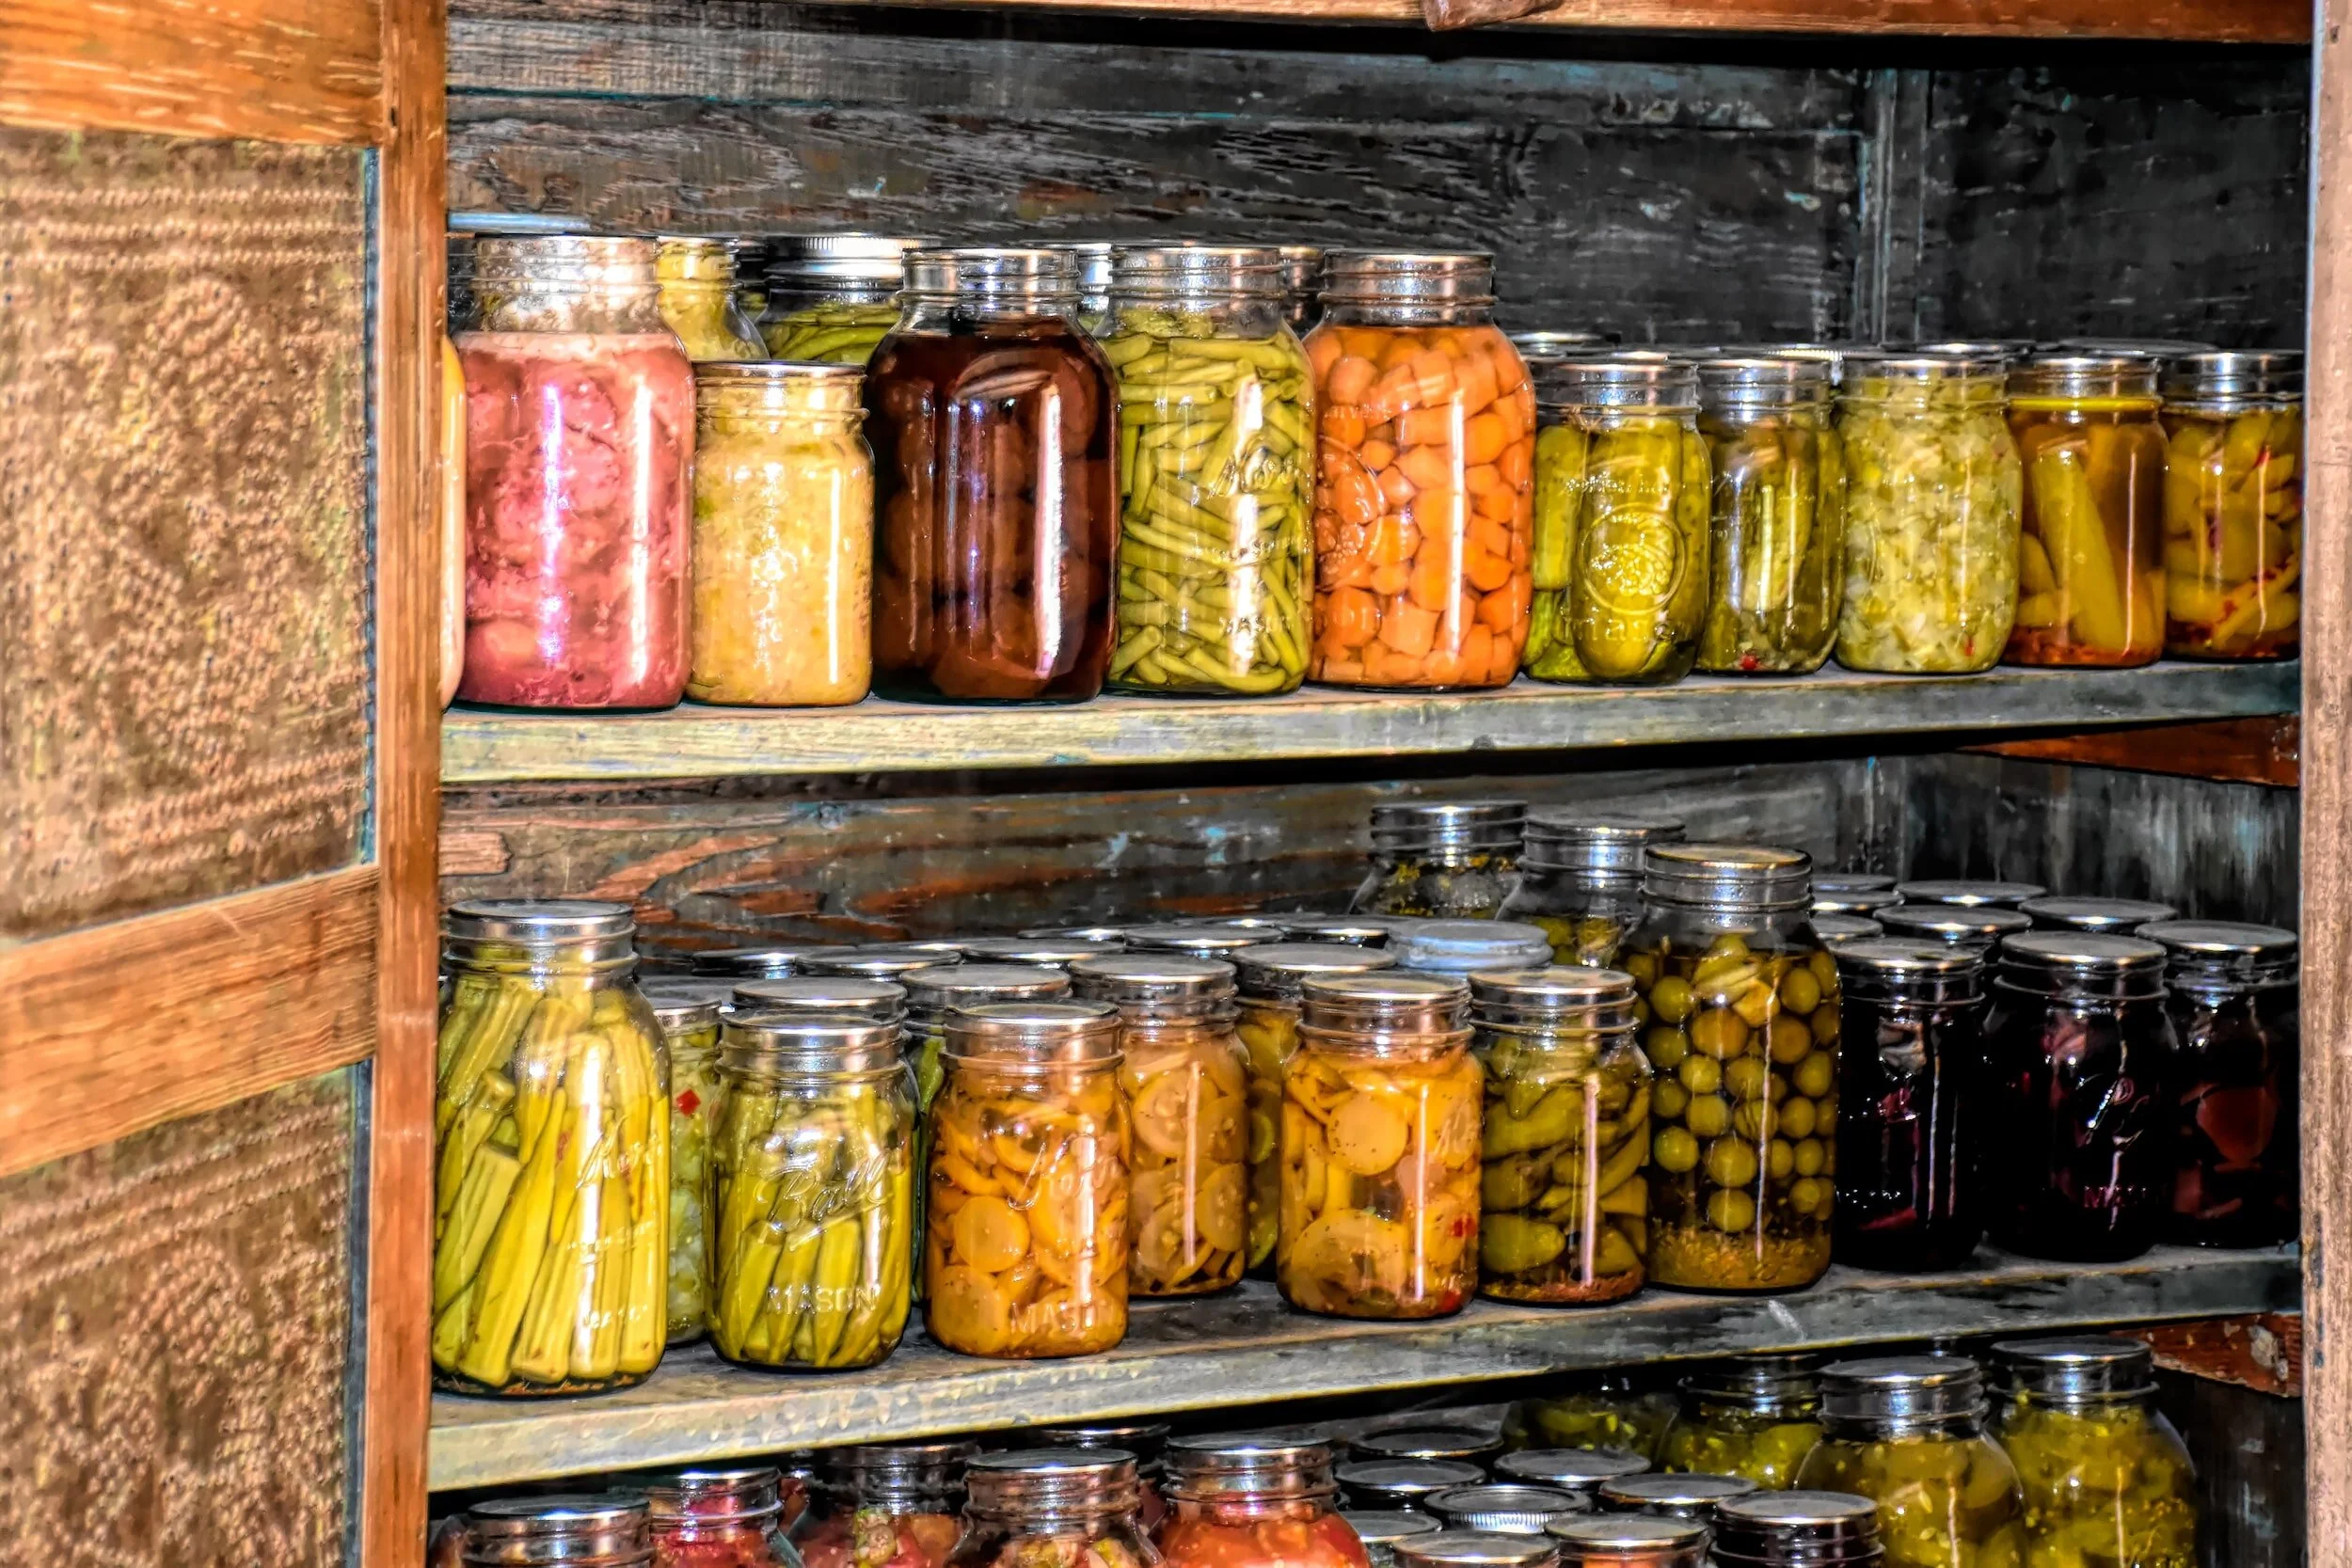
So, your garden exploded. You’ve got more tomatoes than you know what to do with, zucchini the size of small dogs, and berries practically jumping off the bushes. Awesome, right? But also… a little overwhelming. If you’re not careful, all that hard-earned bounty will end up as compost. That’s where the magic of preserving seasonal harvests comes in. Forget those sad, pale supermarket veggies; we’re talking about locking in that peak-season flavor so you can enjoy it all year long. It’s not just about saving money; it’s about savoring the absolute best your garden (or the farmer’s market!) has to offer, fresh from the earth. Let’s ditch the plastic wrap and dive into the real deal: home food preservation.

Source : thecottagepeach.com
Why Bother Preserving Your Harvest?
Look, I get it. It feels like a lot of work. You’ve already done the planting, weeding, watering, and probably battled off a few slugs. Why add more to your plate? Simple: flavor and savings. You’ve tasted a perfectly ripe, sun-warmed tomato, right? Nothing from the store even comes close. When you preserve fruits and vegetables at their absolute best, you capture that sunshine. Plus, think about the money you’ll save. That jar of homemade jam? Costs peies compared to the store-bought stuff. That freezer full of corn? Means no shelling out big bucks for frozen corn in January. It’s about self-sufficiency, sure, but it’s also about enjoying seriously good food without breaking the bank. It’s your garden’s greatest gift to your future self.
The Golden Rule: Start with Quality
This isn’t rocket science, but it is common sense. You can’t turn a bruised, mushy tomato into a gourmet caed delight. Always, always, always start with the best. Pick your produce at its peak ripeness – not too early, not too late. If you’re buying from a market, talk to the farmers. Ask them what’s at its absolute best today. For caing, especially, using subpar ingredients is just asking for trouble. You want vibrant colors, firm textures, and that incredible fresh smell. Anything less? It’s going to show in the final product. Think of it like building a house; you need a solid foundation. For preservation, that foundation is fresh, high-quality produce.
Let’s Talk Methods: Caing, Freezing, Drying, Oh My!
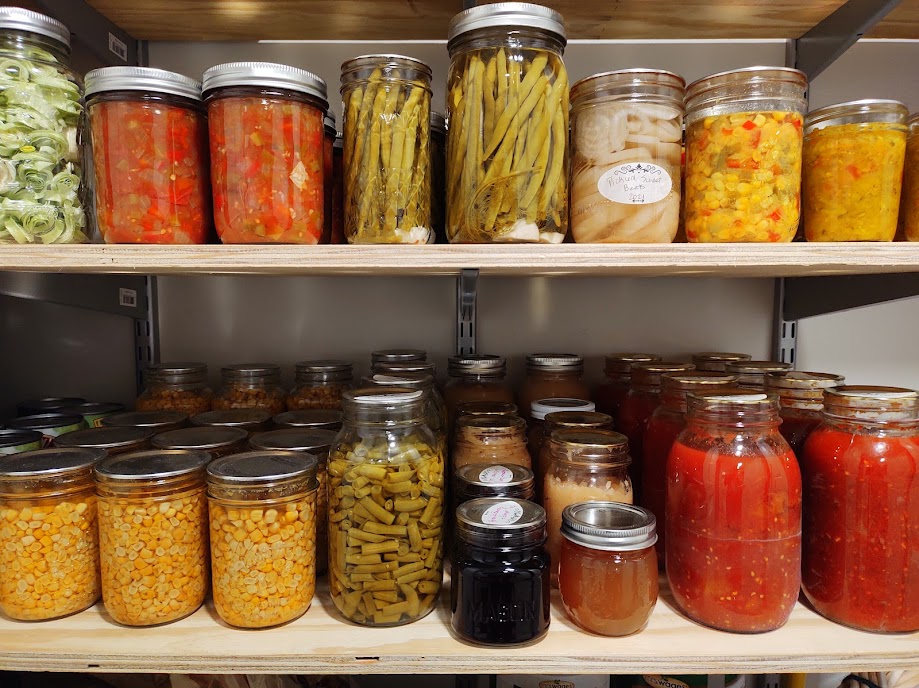
Okay, so you’ve got the goods. Now what? You’ve got a few main roads you can take, and the best one often depends on the food and how you plan to use it later.

Source : rogersgardens.com
Water Bath Caing: The Classic Choice for High-Acid Foods
This is probably what most people picture when they think of caing. Jars bubbling away in a big pot of water. It’s fantastic for anything high in acid – think fruits, jams, jellies, pickles, and tomatoes (often with added acid). The boiling water does the heavy lifting, creating a vacuum seal as the jars cool, which keeps the food safe and shelf-stable for ages. It’s pretty straightforward, but you have to follow tested recipes. Messing around with ratios, especially the acid, can be dangerous. Nobody wants botulism, right? We’re aiming for tasty, safe food here. Seriously, grab a reliable recipe book and stick to it for water bath caing.
Pressure Caing: For the Low-Acid Lowdown
Now, what about those veggies? Green beans, carrots, corn, potatoes – they’re low in acid. You can’t just toss them in a water bath caer and call it a day. Why? Because the lower temperature of a boiling water bath isn’t hot enough to kill off nasty bacteria like Clostridium botulinum. That’s where the pressure caer comes in. It cranks the temperature way up (around 240°F or 115°C), which is what’s needed to safely preserve these lower-acid foods. This requires a specific piece of equipment – a dedicated pressure caer, not a pressure cooker. They look similar, but they’re designed for different jobs. Safety is non-negotiable with pressure caing.
Freezing: The Easy Button (Mostly)
Freezing is your friend. It’s fast, relatively easy, and keeps food incredibly close to its fresh-picked quality. Most fruits? Just wash, maybe chop, and freeze. Berries, peaches, even chopped apples are wiers. Veggies are a bit trickier. Most need a quick blanching step first – a brief dip in boiling water followed by an ice bath. This stops the enzymes that can make frozen veggies taste… well, weird and mushy over time. It sounds like extra work, but trust me, it makes a world of difference in the quality of frozen produce. Don’t forget to label your bags or containers! You don’t want to find mystery meat (or mystery veg) in the back of your freezer.
Dehydrating: Making Food Lighter and Brighter
Think fruit leather, dried herbs, jerky, and even sun-dried tomatoes. Dehydrating removes most of the water, which, like freezing, inhibits spoilage. You can use a food dehydrator (the most efficient way), your oven on its lowest setting (watch it closely!), or even the sun if you live somewhere hot and dry with low humidity. Dehydrated foods are super lightweight, making them great for camping or backpacking. Plus, the intense flavor concentration? Amazing. Just make sure everything is completely dry before storing it in airtight containers. A little bit of moisture left behind can lead to mold faster than you can say ‘fruit roll-up.’ Drying food is a fantastic way to preserve herbs and create concentrated flavors.

Source : amodernhomestead.com
Fermentation: The Gut-Friendly Option
This is an ancient method that’s making a huge comeback, and for good reason! Fermentation uses beneficial bacteria to preserve food, and guess what? It also makes it healthier by adding probiotics. Think sauerkraut, kimchi, and pickles (the kind that live in the fridge, not shelf-stable caed ones). It requires a bit of a learning curve – getting the salt ratios right, keeping everything submerged – but the results are tangy, delicious, and great for your gut. You’re essentially letting good microbes do the work. It’s science you can eat! Fermenting vegetables adds a unique flavor profile and health benefits.
Getting Started: What You Actually Need
Okay, deep breaths. You don’t need a commercial kitchen to start. Depending on your chosen method, here’s the lowdown:
For Caing (Water Bath & Pressure):
You’ll need a few key items. A big water bath caer (a large pot with a rack) is essential for water bath caing. For pressure caing, you need a dedicated pressure caer – these are heavier duty and have a pressure gauge. Jars are, of course, a must. Wide-mouth jars are generally easier to fill. Make sure you have new lids for each batch (they’re single-use for sealing) and the rings can be reused if they’re not rusted or bent. A jar lifter is a lifesaver (seriously, don’t try to grab hot jars with tongs), plus a fuel, ladle, and maybe a headspace tool. Don’t forget a caing cookbook with tested recipes!
For Freezing:
This is the easiest setup. You need good quality freezer bags or airtight containers. If you plan to blanch veggies, you’ll need a pot for boiling water and a big bowl for an ice bath. A good knife for chopping and maybe a vacuum sealer if you want to go the extra mile to prevent freezer burn. Your existing freezer is the main piece of equipment here! Freezer bags are a must-have.
For Dehydrating:
A food dehydrator is the easiest and most consistent option. They come in various sizes and price points. If you’re on a super tight budget, you can try using your oven on its lowest setting (keep the door slightly ajar) or investigate solar dehydrators if you’re in a suitable climate. Airtight containers or vacuum-sealed bags are needed for storage. You’ll also need good knives for slicing.

Source : grocery.coop
For Fermenting:
You can start simple! Wide-mouth jars (the same ones you use for caing work great), some sort of weight to keep the food submerged (like a smaller jar filled with water, or specialized fermentation weights), and airlocks are helpful but not strictly necessary to start. Some people use plastic lids with holes for gas to escape. You’ll need salt, of course, and your chosen veggies. Fermentation jars are readily available.
Tips for Success: Avoiding the Pitfalls
Preserving food isn’t just about having the right gear; it’s about doing it right. Here are some hard-won tips:
- Follow Tested Recipes Religiously: I can’t stress this enough, especially for caing. Don’t get creative with ingredient amounts (especially acid and sugar) or processing times. The National Center for Home Food Preservation is a great resource. Sticking to tested recipes is key to safety.
- Work in Small Batches When Starting: Don’t try to can 50 jars of tomatoes on day one. Start with a few jars. Get the hang of the process. You can always do more once you’re confident. This prevents overwhelm.
- Sanitize Everything: Cleanliness is paramount. Wash your hands, wash your produce, and make sure your jars and equipment are clean. For caing, jars are typically sterilized by boiling them.
- Check Your Seals: After caing, let jars cool undisturbed. You should hear a satisfying ‘ping!’ as they seal. Once cool, check the lid – it should be concave and not flex when pressed. If a jar didn’t seal, put it in the fridge and use it within a week, or reprocess it immediately with a new lid. Checking jar seals is crucial.
- Label EVERYTHING: Seriously. Date, contents, and maybe even how you prepared it (e.g., ‘Spicy Dilly Beans’). You’ll thank yourself later when you find jars in the back of the pantry. Don’t guess!
- Store Properly: Cool, dark, dry places are best for caed goods. Freezers should be kept at 0°F (-18°C). Dehydrated and fermented foods need airtight containers in a cool, dark place.
- Don’t Be Afraid to Ask: If you’re unsure about a process, ask someone experienced or consult reliable resources. Websites like Melissa Norris offer tons of great advice for home food preservation.
Preserving Seasonal Harvests: FAQ
Can I just use any old jar for caing?
Absolutely not! Stick to proper caing jars made by brands like Ball or Kerr. They’re designed to withstand the heat and pressure of caing and create a reliable seal. Regular jars (like pickle or spaghetti sauce jars) don’t have the right glass thickness or rim design, and their lids aren’t made for sealing. You risk explosions, seals failing, and food spoilage. Safety first, always!
Source : forksinthedirt.com
How long does home-caed food last?
When done correctly and stored properly (cool, dark, dry place), high-quality caed goods can last for years. The USDA generally recommends using them within a year for best quality, but they remain safe beyond that if the seal is intact and the jar shows no signs of spoilage (like bulging lids or off-smells). However, flavor and nutrient content might decrease over extended periods. Use your best judgment!
What’s the difference between water bath caing and pressure caing?
It all comes down to temperature and acidity. Water bath caing uses boiling water (212°F/100°C) and is safe ONLY for high-acid foods (fruits, pickles, jams). Pressure caing reaches higher temperatures (around 240°F/115°C) due to the increased pressure inside the caer, which is necessary to kill botulism spores in low-acid foods like vegetables, meats, and poultry. You caot safely substitute one method for the other.
Is it safe to can meat at home?
Yes, but only with a pressure caer. Meat is a low-acid food, and you need the high temperatures achieved under pressure to make it safe. Water bath caing is NOT safe for meat. Always use a tested recipe specifically for caing meat, following the exact instructions for processing time and pressure. Getting this wrong can be incredibly dangerous.
My caed goods look a little cloudy. Should I worry?
Cloudiness can happen for a few reasons, and it’s not always a disaster. For caed vegetables, it might be starch leaching out. For fruits, it could be natural clouding of the syrup. However, if you see any signs of spoilage – like a bulging lid, gas bubbles, a strange odor, or mold – toss the entire jar immediately without tasting it. When in doubt, throw it out!
Frequently Asked Questions
-
Can I just use any old jar for caing?
Absolutely not! Stick to proper caing jars made by brands like Ball or Kerr. They’re designed to withstand the heat and pressure of caing and create a reliable seal. Regular jars (like pickle or spaghetti sauce jars) don’t have the right glass thickness or rim design, and their lids aren’t made for sealing. You risk explosions, seals failing, and food spoilage. Safety first, always!
-
How long does home-caed food last?
When done correctly and stored properly (cool, dark, dry place), high-quality caed goods can last for years. The USDA generally recommends using them within a year for best quality, but they remain safe beyond that if the seal is intact and the jar shows no signs of spoilage (like bulging lids or off-smells). However, flavor and nutrient content might decrease over extended periods. Use your best judgment!
-
What's the difference between water bath caing and pressure caing?
It all comes down to temperature and acidity. Water bath caing uses boiling water (212°F/100°C) and is safe ONLY for high-acid foods (fruits, pickles, jams). Pressure caing reaches higher temperatures (around 240°F/115°C) due to the increased pressure inside the caer, which is necessary to kill botulism spores in low-acid foods like vegetables, meats, and poultry. You caot safely substitute one method for the other.
-
Is it safe to can meat at home?
Yes, but only with a pressure caer. Meat is a low-acid food, and you need the high temperatures achieved under pressure to make it safe. Water bath caing is NOT safe for meat. Always use a tested recipe specifically for caing meat, following the exact instructions for processing time and pressure. Getting this wrong can be incredibly dangerous.
-
My caed goods look a little cloudy. Should I worry?
Cloudiness can happen for a few reasons, and it’s not always a disaster. For caed vegetables, it might be starch leaching out. For fruits, it could be natural clouding of the syrup. However, if you see any signs of spoilage – like a bulging lid, gas bubbles, a strange odor, or mold – toss the entire jar immediately without tasting it. When in doubt, throw it out!