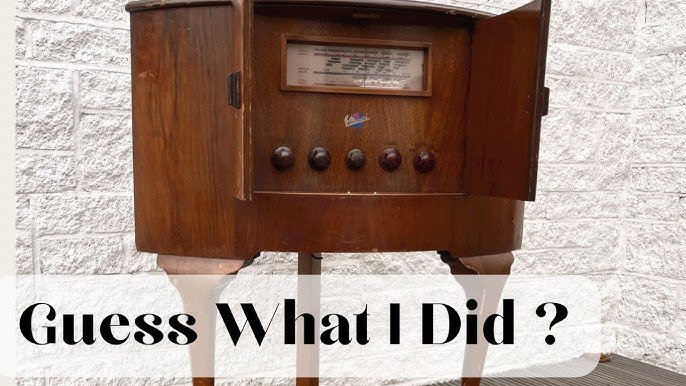
Get Your Retro On: Breathing New Life into Old Electronics
Remember that crackle on the radio? Or the satisfying click of a rotary phone? Yeah, me too. There’s something undeniably cool about vintage electronics. They don’t just sit there; they tell stories. They hum with a past life. And bringing them back from the brink? That’s not just a hobby, it’s a full-on vibe. It’s about more than just fixing a dusty old tube amp. It’s about coecting with history, with a time when things were built to last, and maybe, just maybe, sounded better. Let’s dive into why this stuff is making a comeback and how you can get your hands dirty.

Source : youtube.com
Why Are Old Gadgets So Damn Cool?
Look, I get it. We’ve got sleek smartphones and smart TVs that do everything but fold our laundry. So why bother with a chunky 80s boombox or a clunky reel-to-reel tape recorder? Simple: nostalgia. It’s that warm, fuzzy feeling of remembering Saturday morning cartoons, dialing up your best friend on a corded phone, or spiing vinyl on a turntable that felt like a spaceship. These old devices are tangible links to our past. They’re physical reminders of simpler times, before everything went digital and disposable. Plus, let’s be honest, a lot of this old gear just looks cooler. Think brushed aluminum, wood grain, chunky knobs. It’s got character, something today’s mass-produced plastic often lacks. It’s about the tactile experience, the satisfying weight, the unique sounds.
The Allure of the Analog Sound
This is where things get really interesting for me. The sound. Oh man, the sound. There’s a reason audiophiles still chase after vintage audio equipment. Tube amplifiers? They produce a warmth, a richness, a certain je ne sais quoi that solid-state amps struggle to replicate. It’s not just about loudness; it’s about character. That slight distortion when you push it? It’s not a bug; it’s a feature! It adds a depth that digital perfection often smooths over. Same goes for old turntables and speakers. They impart a subtle character, a sonic fingerprint, that makes music feel more alive, more organic. It’s like the difference between a photograph and a painting. Both are great, but they hit you differently. This analog warmth is something you just can’t get from a compressed MP3 file played through earbuds.

Source : amazon.com
Building a Better Vibe: Where to Start
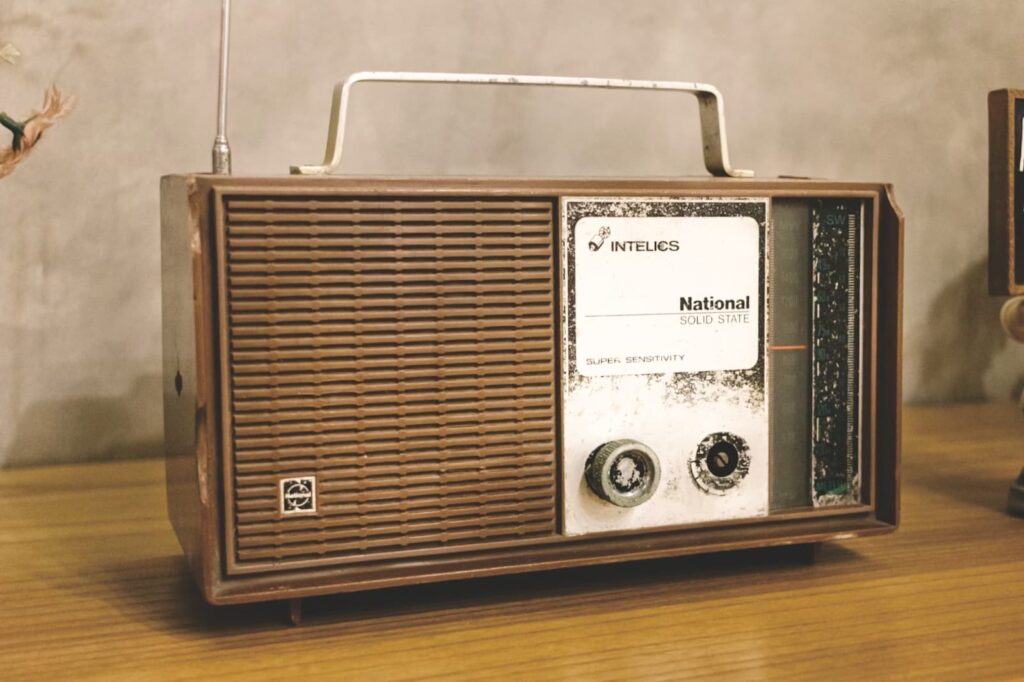
Okay, so you’re hooked. You want that retro glow in your living room. Where do you even begin? First off, don’t go crazy. Start small. Hit up your local thrift stores, flea markets, or online marketplaces like eBay and Facebook Marketplace. You’ll be amazed at what you can find. Maybe a classic radio, a forgotten portable record player, or even an old video game console. Resist the urge to buy everything you see. Think about what you actually want to display or use. Do you want that killer vintage stereo system? Or are you more into retro computing? Define your vibe. For audio gear, look for brands known for quality: Marantz, Pioneer, Sansui, McIntosh for the high-end stuff. For TVs, maybe a cool CRT monitor for that authentic retro gaming look. And don’t forget cameras! An old Polaroid or an SLR can add serious aesthetic points. It’s about finding that one piece that speaks to you and ignites that spark.
The Thrill of the Hunt
Part of the fun is the search itself. It’s like a treasure hunt. You never know when you’ll stumble upon that perfect piece. I once found a mint condition 1970s JVC receiver at a garage sale for ten bucks. Ten bucks! The guy just wanted it out of his garage. It needed a little cleaning and some new bulbs, but it sounds incredible. That feeling of discovery? Priceless. You’ll develop an eye for what’s worth saving. You’ll start recognizing models, understanding common problems, and developing a sixth sense for a good deal. This scavenger hunt aspect is addictive. It’s not just about the destination (the restored item), but the journey of finding it. Keep your eyes peeled. That dusty object in the corner could be your next centerpiece.
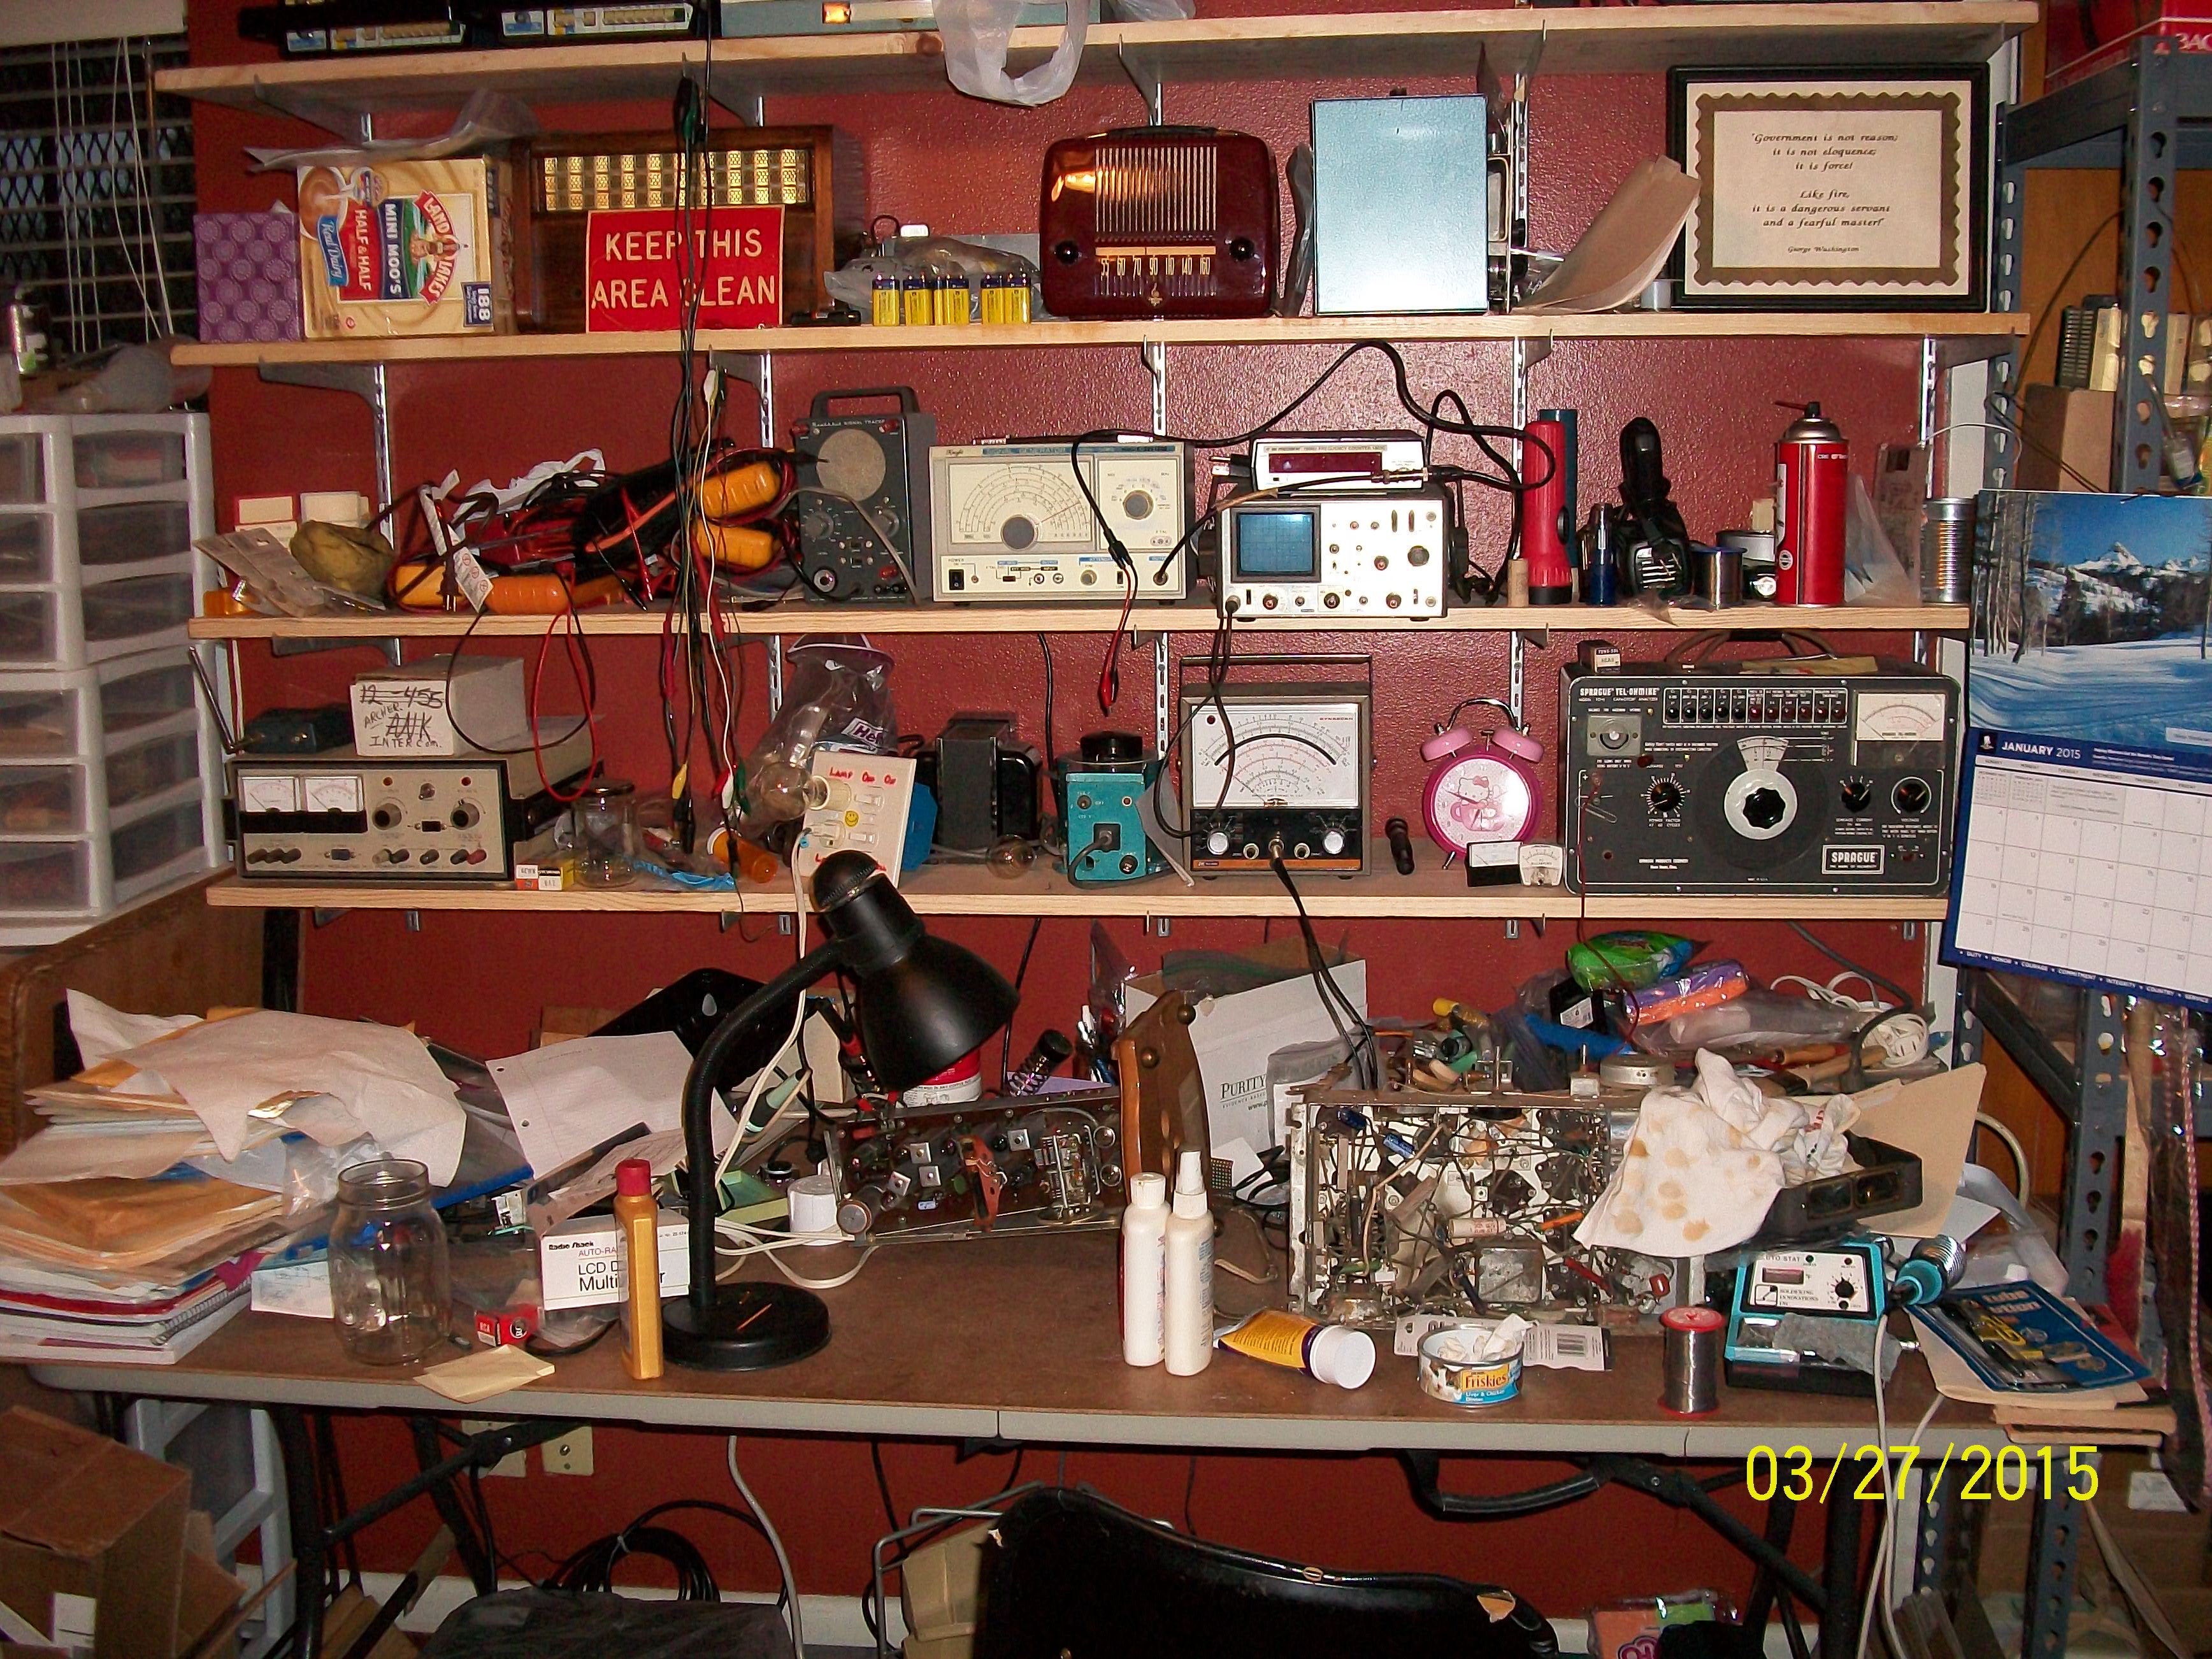
Restoration Station: Getting Your Hands Dirty
So you’ve found your gem. Now what? Time to roll up your sleeves. This is where the real magic happens. Don’t be intimidated! A lot of vintage electronics restoration is more about patience and careful cleaning than advanced engineering. For most cosmetic issues, a good cleaning is all you need. Use appropriate cleaners: isopropyl alcohol for contacts, gentle wood polish for cabinets, a soft cloth for plastics. For internal stuff, safety first! If you’re not comfortable with electronics, especially anything involving mains voltage or capacitors, leave it to the pros. But for simpler fixes? Things like replacing old speaker foam surrounds, cleaning dusty pots and switches (a little contact cleaner goes a long way!), or replacing burnt-out indicator bulbs? Totally doable. There are tons of online resources, forums, and YouTube videos that can guide you. Just take it slow and steady.
Safety First, Always

Source : youtube.com
Let’s get real for a second. Working with old electronics can be dangerous. I can’t stress this enough: safety is paramount. Capacitors can hold a nasty charge even when the device is unplugged. Seriously, I’ve seen people get shocked, and it ain’t pretty. Always unplug the device before you even think about opening it up. If you’re unsure about discharging capacitors, find a tutorial or, better yet, just don’t mess with it. Also, be aware of old wiring. Insulation can become brittle and crack. If you see frayed wires, don’t just tape them up. Replace them properly. If you’re dealing with high-voltage equipment like CRT TVs or old test gear, consider getting professional help. It’s better to pay a repair shop than to end up in the emergency room. Remember, that cool vibe isn’t worth a hospital visit.
Cleaning and Cosmetic Fixes
This is often the most satisfying part for begiers. Taking something that looks like it survived a war and making it shine again. For plastics and metal casings, a good scrub with mild soap and water or an all-purpose cleaner usually does the trick. For stubborn grime, a magic eraser can work wonders, but use it gently. Wood cabinets? They need a bit more love. Clean with a slightly damp cloth, then use a good quality wood polish or even a bit of lemon oil to bring back the luster. Be careful not to over-wet the wood. For knobs and buttons, a cotton swab dipped in isopropyl alcohol is your best friend. It cleans grime without damaging most plastics. And for dusty speaker grilles? A vacuum cleaner with a brush attachment, used gently, can work wonders. Don’t underestimate the power of a good clean; it can make a world of difference.
Internal TLC: Where the Real Work Begins
Alright, time to peek under the hood. This is where the technical skills come in, but don’t let it scare you. Often, the issues are simple. Capacitors dry out over time – they’re like the batteries of old electronics, and they eventually die. Replacing them is a common fix. You’ll need to identify the old capacitor’s values (farads, voltage, temperature rating) and find replacements with the same or higher voltage and temperature ratings, but the same capacitance. Soldering skills are key here. Another common culprit? Dirty potentiometers (the knobs that control volume, tone, etc.) and switches. A quick spray of a good contact cleaner, like DeoxIT, and working the knob back and forth can bring dead controls back to life. This is crucial for getting that clear sound back. Check out resources like helpful electronics forums for specific tips.
Component Replacement: The Art of Substitution
Sometimes, a component is just plain dead. Resistors can drift in value, transistors can fail, and vacuum tubes can burn out. The key is finding replacements. For many common components, you can still find equivalents. Websites like Digi-Key and Mouser are goldmines for modern parts. You might need to adapt the circuit slightly, but it’s often straightforward. For very old or obscure parts, like specific vacuum tubes or integrated circuits, it can be tougher. You might need to source them from specialist suppliers or salvage them from other old equipment. It’s a bit like detective work, piecing together the puzzle to find the right substitute. Always double-check compatibility before soldering anything in. Getting the right replacement parts is critical for a successful repair.
Source : vrps.org
Testing and Troubleshooting: Patience is a Virtue
Once you’ve done your work, the moment of truth arrives. Does it power on? Does it make noise? Does it smoke? (Hopefully not the last one!) Troubleshooting is an iterative process. Don’t expect it to work perfectly the first time. Use a multimeter – it’s your best friend for checking voltages, continuity, and resistance. Start simple: check your power supply, ensure all coections are solid. If it’s completely dead, trace the power path. If it powers on but sounds bad, suspect capacitors or dirty controls. If you’re really stuck, don’t be afraid to ask for help on forums or consult a professional. Sometimes, a fresh pair of eyes is all it takes. This troubleshooting process is where you really learn the guts of the machine.
Bringing Back the Sound: Speaker Reconditioning
Those awesome vintage speakers might look okay, but the foam surrounds on the speaker cones often disintegrate over time. This leads to rattling, distortion, and a loss of bass. Luckily, speaker repair kits are readily available online. You just need to carefully remove the old foam, clean off the residue, glue on the new foam surround, and re-glue the speaker cone. It’s fiddly work, requiring a steady hand and some patience, but the results are often dramatic. You’ll be amazed at how much better your vintage speakers sound once they have proper surrounds. It’s a relatively low-cost fix that can completely transform your audio experience. Don’t let deteriorated surrounds ruin that amazing vintage sound.
When to Call in the Pros
Look, I love tinkering, but sometimes you just have to know your limits. If a device involves complex circuitry, rare components, or, again, high voltages (like old TVs or oscilloscopes), it might be time to call in the cavalry. Trying to fix something beyond your skill level can be dangerous and often ends up causing more damage. Find a reputable repair shop that specializes in vintage electronics repair. They have the experience, the tools, and often, access to rare parts. It might cost a bit, but seeing that beloved piece of gear come back to life, knowing it was done right? Worth every pey. Check out places like specialized repair blogs for leads on who to trust.
Making it Your Own: Customization and Integration
Once your vintage gear is humming along, why stop there? Get creative! Maybe you want to upgrade the speaker wiring for better fidelity. Perhaps you want to add Bluetooth capability to that sweet old receiver (there are small adapters for this!). Or maybe you want to integrate a vintage CRT TV into your modern gaming setup for authentic retro experiences. It’s about blending the old with the new, creating something unique that reflects your personal style. You can even repaint casings, add custom lighting, or modify controls. Just remember to tread lightly. The goal is to enhance, not detract from, the original charm. This customization can make your vintage find truly one-of-a-kind.
Source : bobanddan.com
Displaying Your Treasures
So you’ve got this amazing piece of vintage tech, all cleaned up and working. How do you show it off? Don’t just shove it in a closet! These items are conversation starters. Place that beautiful vintage radio on a prominent shelf. Set up your classic record player as the centerpiece of your living room. Mount that cool CRT monitor above your retro gaming console. Good lighting helps too – maybe a nice Edison bulb nearby to complement the retro aesthetic. Arrange them with other vintage items – old books, photographs, maybe even some classic vinyl records. Create a dedicated corner or shelf that celebrates your collection. It’s not just about the tech; it’s about creating an atmosphere, a curated space that screams personality.
The Ultimate Vibe: It’s All About Feeling
Ultimately, restoring vintage electronics is about more than just the hardware. It’s about the feeling. It’s the satisfaction of bringing something back from the dead. It’s the joy of hearing that warm, analog sound fill your room. It’s the coection to a different era, a tangible link to the past. It’s about creating a unique atmosphere, a space that feels personal and full of character. It’s a slow, deliberate process that forces you to discoect from the frantic pace of modern life and focus on something tangible. The nostalgic vibe you create isn’t just in the objects; it’s in the experience of acquiring, restoring, and enjoying them. It’s a rewarding journey that pays off in unique style and unforgettable sounds.
Frequently Asked Questions
What are the most sought after antique electronics?
That’s a great question! Generally, people go wild for vintage audio equipment. Think tube amplifiers from the 60s and 70s (Marantz, McIntosh, Sansui), classic turntables (Thorens, Pioneer), and reel-to-reel tape decks. Old radios, especially those with cool designs or unique features, are also super popular. And don’t forget retro gaming consoles – the original Atari, NES, and Sega Genesis can fetch a pretty pey. Anything that looks cool and still works, or can be made to work, is usually a hit. Collectors love gear with a story and that unique analog sound.
What can you make out of old electronics?
You can do a lot more than just fix them up! Many people use old electronics purely for their aesthetic appeal, turning them into decorative pieces or conversation starters. You could build a retro gaming station with an old CRT monitor and console. Some folks repurpose parts for art projects or even create unique lighting fixtures from old vacuum tubes or speaker components. And, of course, the primary use is to restore them for their original function – listening to music on a classic stereo, playing old video games, or tuning into AM radio on a vintage set. It’s about giving them a new lease on life, whether functional or decorative.
How much does it cost to restore vintage electronics?
Honestly? It varies like crazy. You can sometimes find amazing deals where a piece only needs a good cleaning, costing you maybe $20 for cleaning supplies. For more involved repairs, like replacing multiple capacitors or a few transistors, you might spend $50-$100 on parts. If you need to pay a professional for complex repairs or rare part sourcing, it could easily run into hundreds, even thousands, for very high-end or rare items. The cost of restoration really depends on the item’s condition, the complexity of the repair, and whether you DIY or hire a pro. Always budget a little extra for unexpected issues!
Is it worth restoring old electronics?
For me? Absolutely, yes! It’s incredibly satisfying to bring something old and neglected back to life. You learn a ton, and the end result is a unique item with character that you just can’t buy new. Plus, the sound quality from many vintage audio systems is still phenomenal, often surpassing modern equivalents at a fraction of the cost. It’s a sustainable hobby too – why buy new when you can repair and reuse? It’s a coection to the past, a way to slow down, and a fantastic way to add serious style to your home. The bragging rights alone are often worth it.
Where can I find parts for vintage electronics?
That’s the million-dollar question! For common parts like resistors, capacitors, and transistors, big online distributors like Digi-Key and Mouser are great, though they stock mostly modern components. You’ll often need to find equivalents. For more specific vintage parts, like vacuum tubes, transistors from a particular era, or even whole chassis, eBay is surprisingly good. Specialist forums and communities, like the one on EEVblog, are invaluable – people often sell parts or know where to find them. Sometimes, the best parts come from salvaging another broken unit. It takes some digging, but finding replacement parts is part of the challenge and fun.